Production
A garment's journey, step by step
From the counter to pickup: what happens to the tag at every step, whether it gets wet, and how you know which garment is which when they come out of the machine.
Step 1 · The customer walks in
At the counter you count the garments and mark the color, the brand and whatever damage each one has (broken button, stain, loose seam). Under the ticket you choose what to do about the money: leave it for pickup (the usual), charge it all now or take a deposit. Further down I'll show you how to set your shop's habit once.
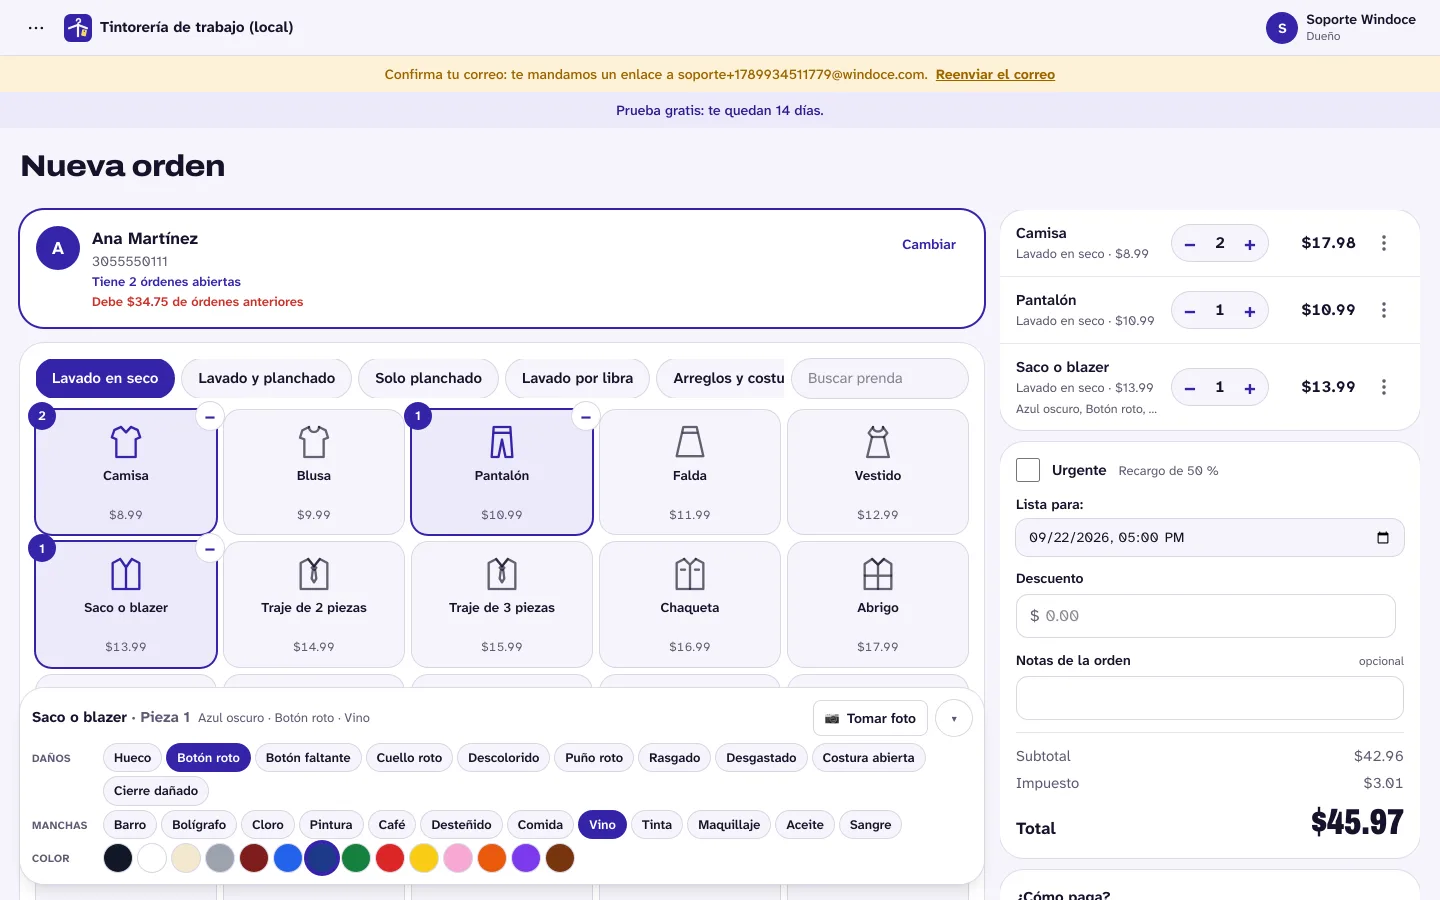
Saving prints two different things: the customer receipt (80 mm roll) and one tag per garment. See Receipt and tag printers.
Step 2 · The customer receipt
The customer takes their receipt. It carries the order number, the garments with everything you wrote down, the total, what they paid, the balance left and the due date.
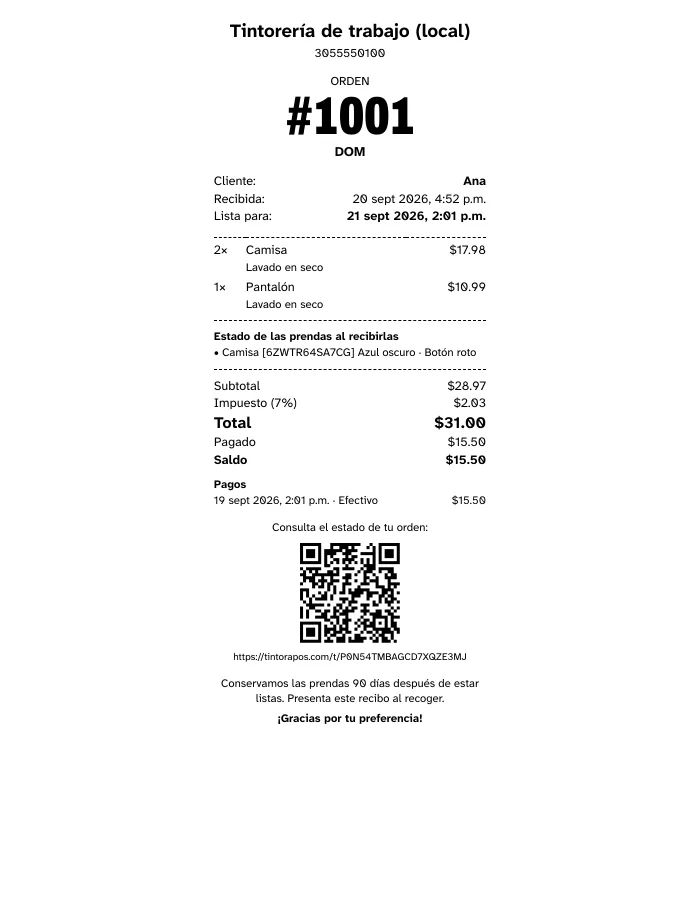
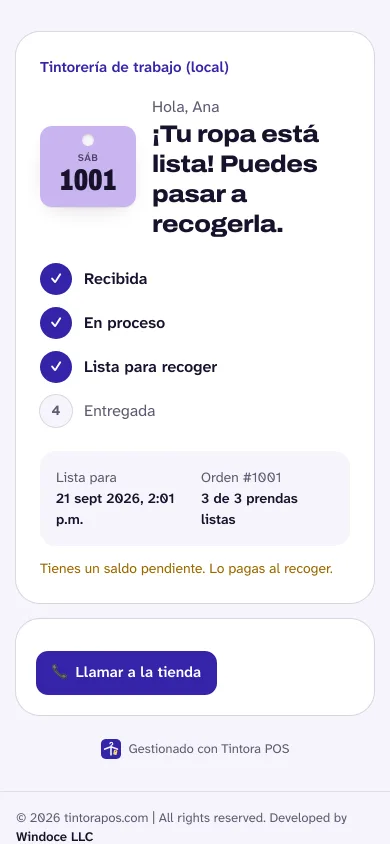
At the bottom there's a QR code: the customer scans it with their phone camera and sees how their clothes are doing, without calling the store. It's the same address they get by email when the order is ready.
Step 3 · Tag every garment
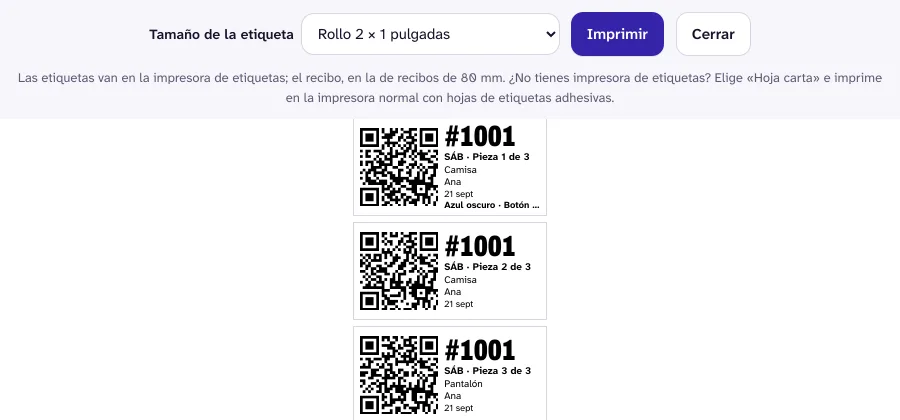
One tag per garment, not one per order. Each tag carries the order number, which piece it is (Piece 2 of 4), the garment, the customer, the due date and its QR code.

Where it goes: on the garment's care label (the fabric one with the washing instructions) or on an inside seam. Never on visible fabric: it can leave a mark.
- Stapled to the neck of the care label: the most common and the cheapest.
- With a safety pin, for delicate fabrics where you don't want a staple.
- Heat-sealed: a nylon label pressed on with a small sealer. It's what big cleaners use; it survives everything and can stay on for several visits.
Step 4 · Sort and treat stains
Garments are split by fabric and color, and stains are treated before cleaning. The marks you entered at the counter tell the plant what to look at on each piece.
Step 5 · Cleaning (the question everyone asks)
The garment goes into the machine with its tag on. That's how every dry cleaner works: garments from several customers are cleaned together by fabric type, and the only thing that says whose is whose is the tag.
- Dry cleaning (perc or hydrocarbon): a dry cleaner's paper tag holds up fine.
- Wet cleaning: use heat-seal, or put the pieces of one order in a mesh bag with the tag outside.
- Dryer and press: heat is the enemy of cheap thermal paper. With a proper tag or heat-seal, nothing happens.
Step 6 · Pressing and finishing
The garment is pressed with its tag on. If the tag is in the way, move it to the other side of the seam; don't take it off.
Step 7 · Assembly: this is where the system tells you which is which
This is the step that answers your question. When ten garments come out of the machine all mixed up, you don't have to guess anything: scan each tag's QR with the phone camera or a scanner, and the screen tells you which order it belongs to and how many pieces of that order are still missing.
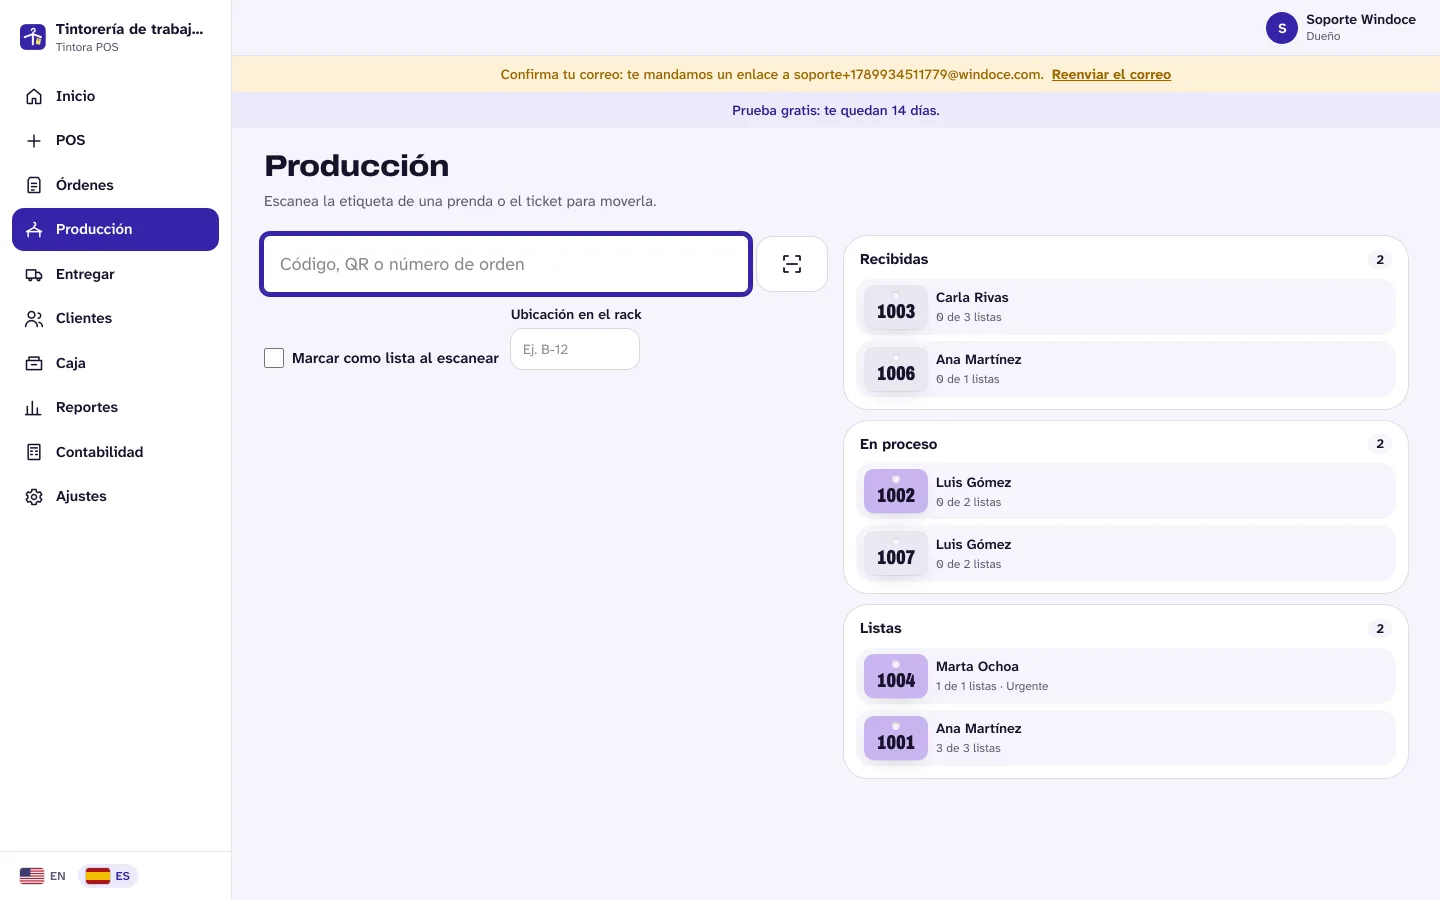
- 1Go to Production.
- 2Scan the garment's tag (camera or scanner).
- 3Choose whether you move that piece or the whole order, and to which status.
- 4Hang the garment in that order's spot.
- 5When the last piece of the order is ready, the system marks the order ready and notifies the customer.
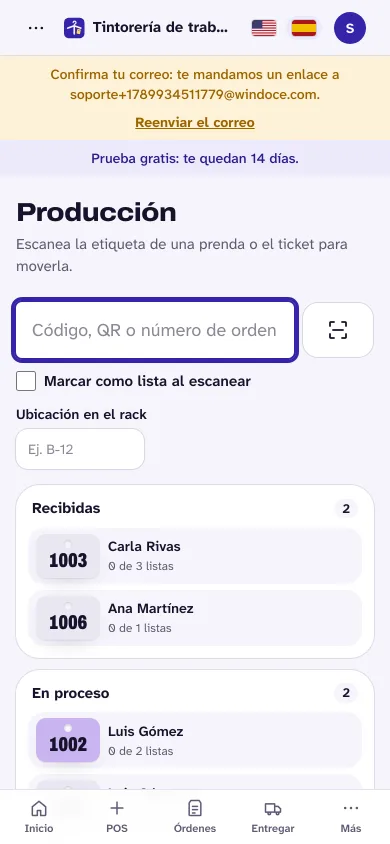
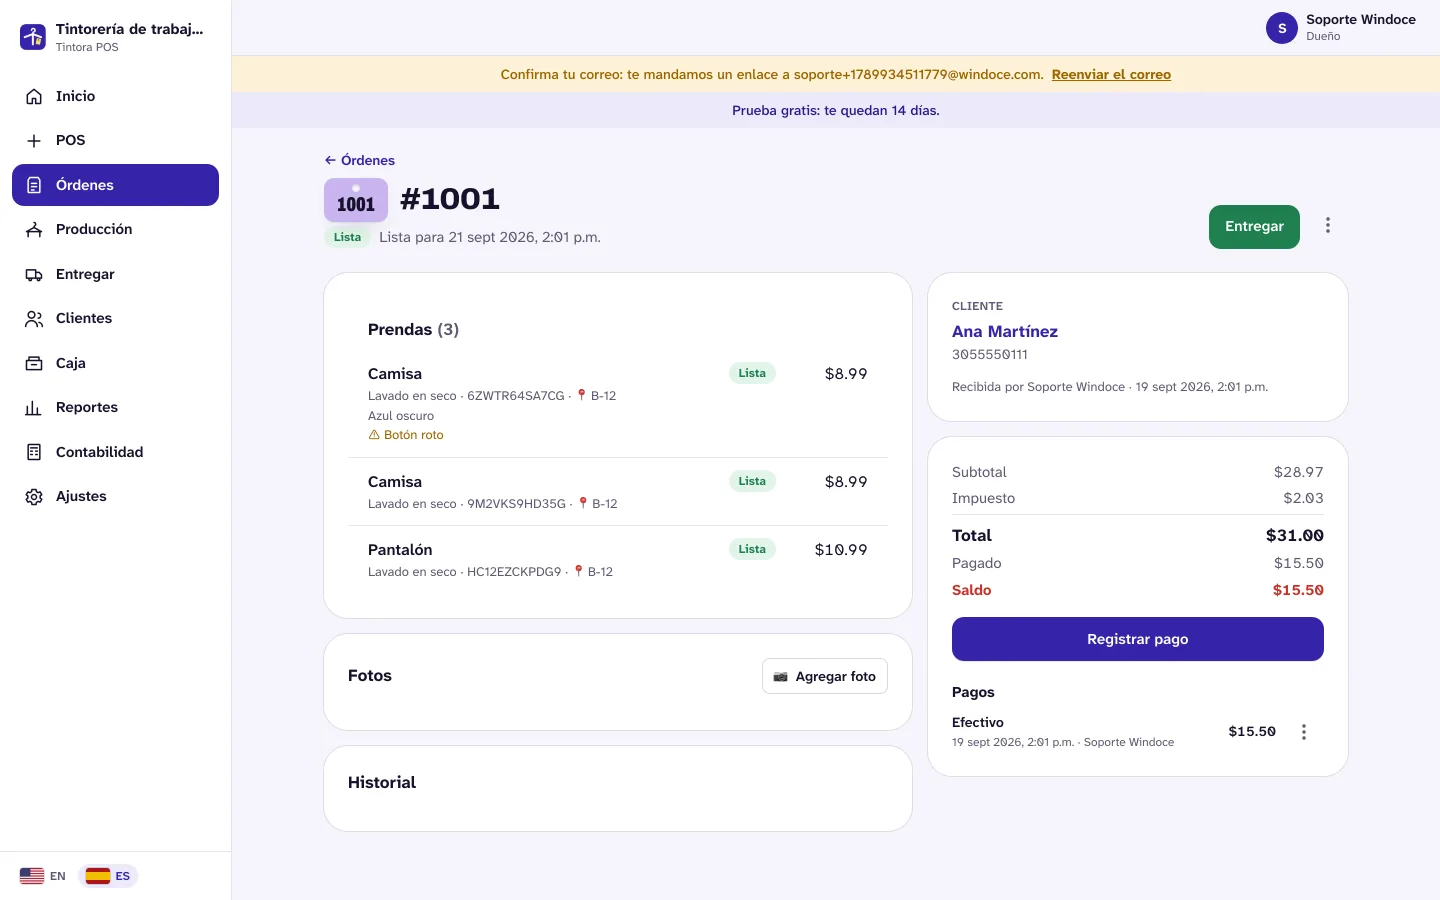
The order detail shows each piece with its tag and its status, so at any moment you know how many are done and which one is missing.
Step 8 · Onto the rack, with its location
When the order is ready, write its rack location (B-12, for example). At pickup the screen tells the cashier, and nobody walks around hunting for it.
Step 9 · Pickup and payment: now the tags come off
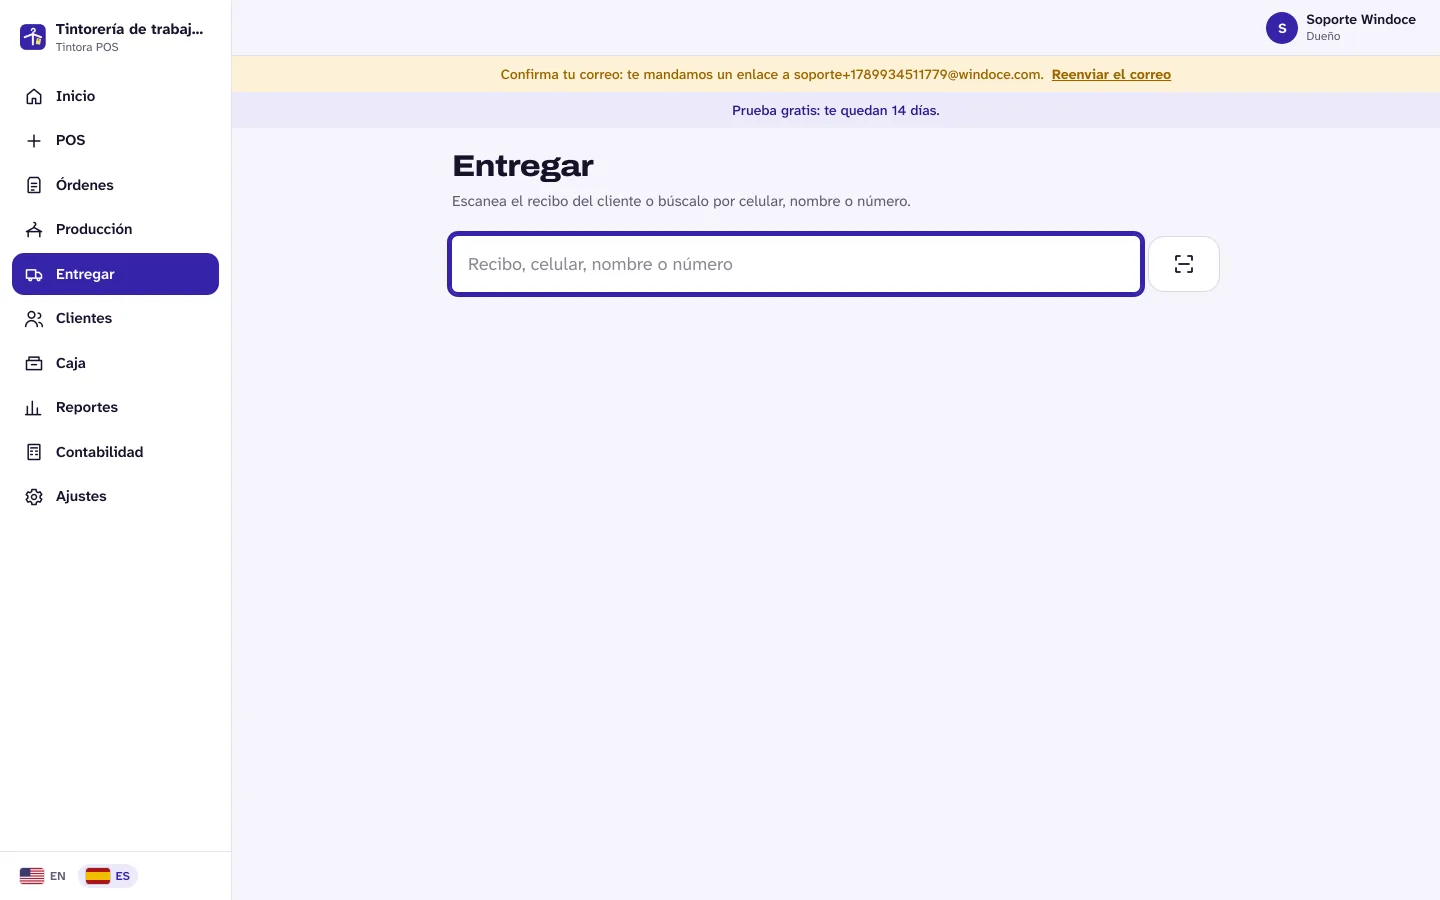
The customer shows up with their receipt (or just says their phone number). The screen tells you where the order sits on the rack and how much is still owed. You collect the balance, hand it over and the order closes. Tags come off at bagging, right before the clothes go into the garment bag.
When do you charge? You decide
There are two habits and both are normal. In Settings → Your store you pick your shop's with one button, and the counter starts that way every day:
- At pickup (what comes set, and the traditional way): the order starts with a balance and you charge when the customer picks up. The receipt shows the balance clearly.
- At drop-off, on the counter: the customer pays up front. The counter asks for the full payment when the order is created and the receipt comes out paid.
What if a tag falls off?
- 1Find the order by the customer's phone or name in Orders.
- 2Open the order and compare: every piece has its garment, its color and the marks you wrote down at intake.
- 3Once you've identified it, reprint just that tag from the order detail (reprinting tags doesn't need approval).
Which tags to buy
- Dry cleaner paper tag, 3 × 1 inches, for stapling. The most used. In the system pick the Staple tag size.
- Roll of 2 × 1 inch adhesive labels that are solvent resistant. Size Roll 2 × 1.
- Heat-seal nylon labels (they need a small sealer). The most durable.
- Letter-size adhesive label sheets if you don't have a label printer yet. Size Letter sheet: 30 per sheet.